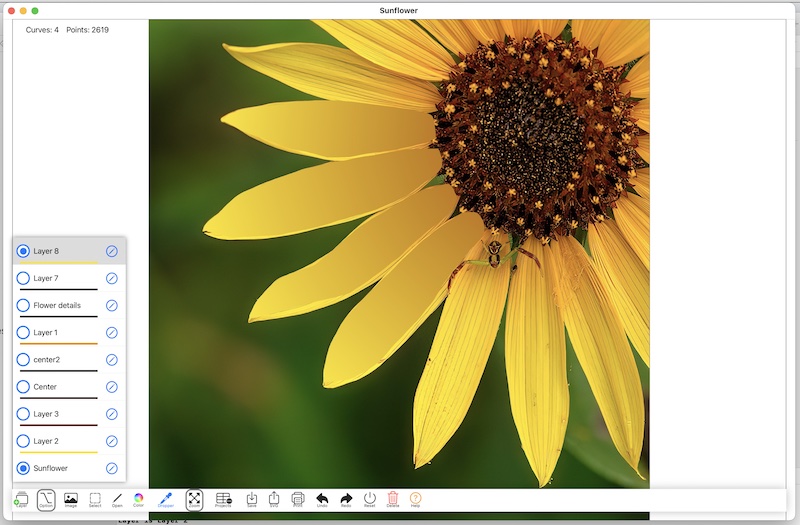
An existing gradient can be edited using the curve edit tool.
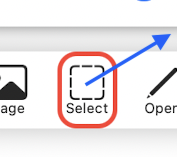
The first step is to select a curve. The gradient edit function works only if exactly one curve is selected. To select a curve, make sure the option key is disabled, then tap down on the select icon, drag away and release. If done properly, the icon gets a red border.
With the select button outlined in red, drag a marquee over the curve you wish to edit. Note that if the option button is active, the tool will select all curves that are partially contained in the marquee. With the option key disabled, only one will be selected. If more than one curve intersects the marquee, the one with the most points inside the marquee will be selected. Then the curve edit screen is displayed.
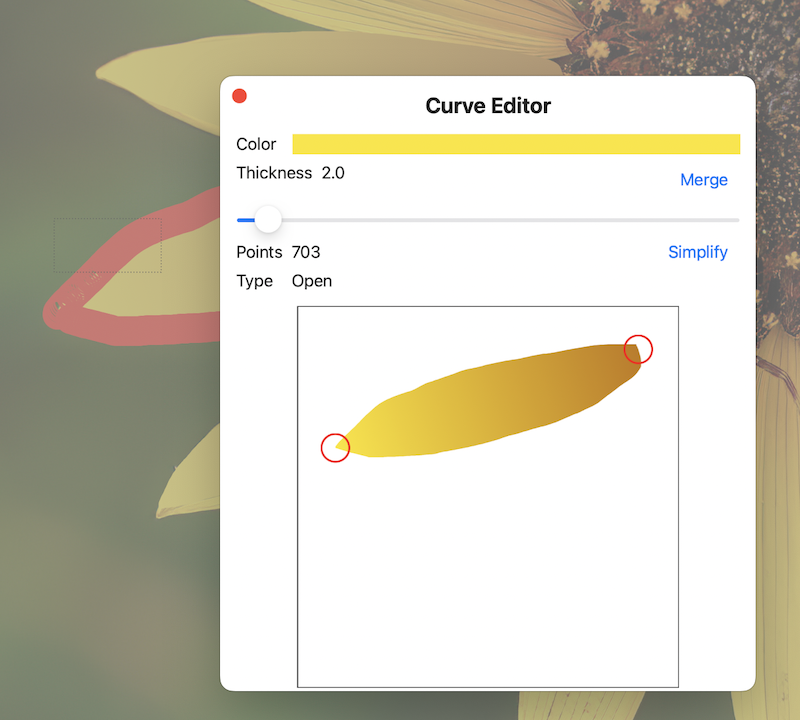
By tapping the Simplify button, the curve will be modified by removing as many points as possible without changing the overall shape significantly.

|

|
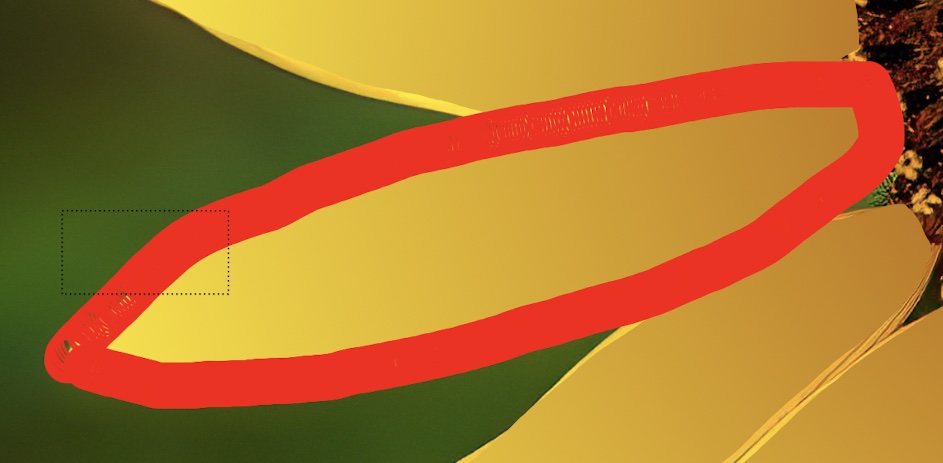
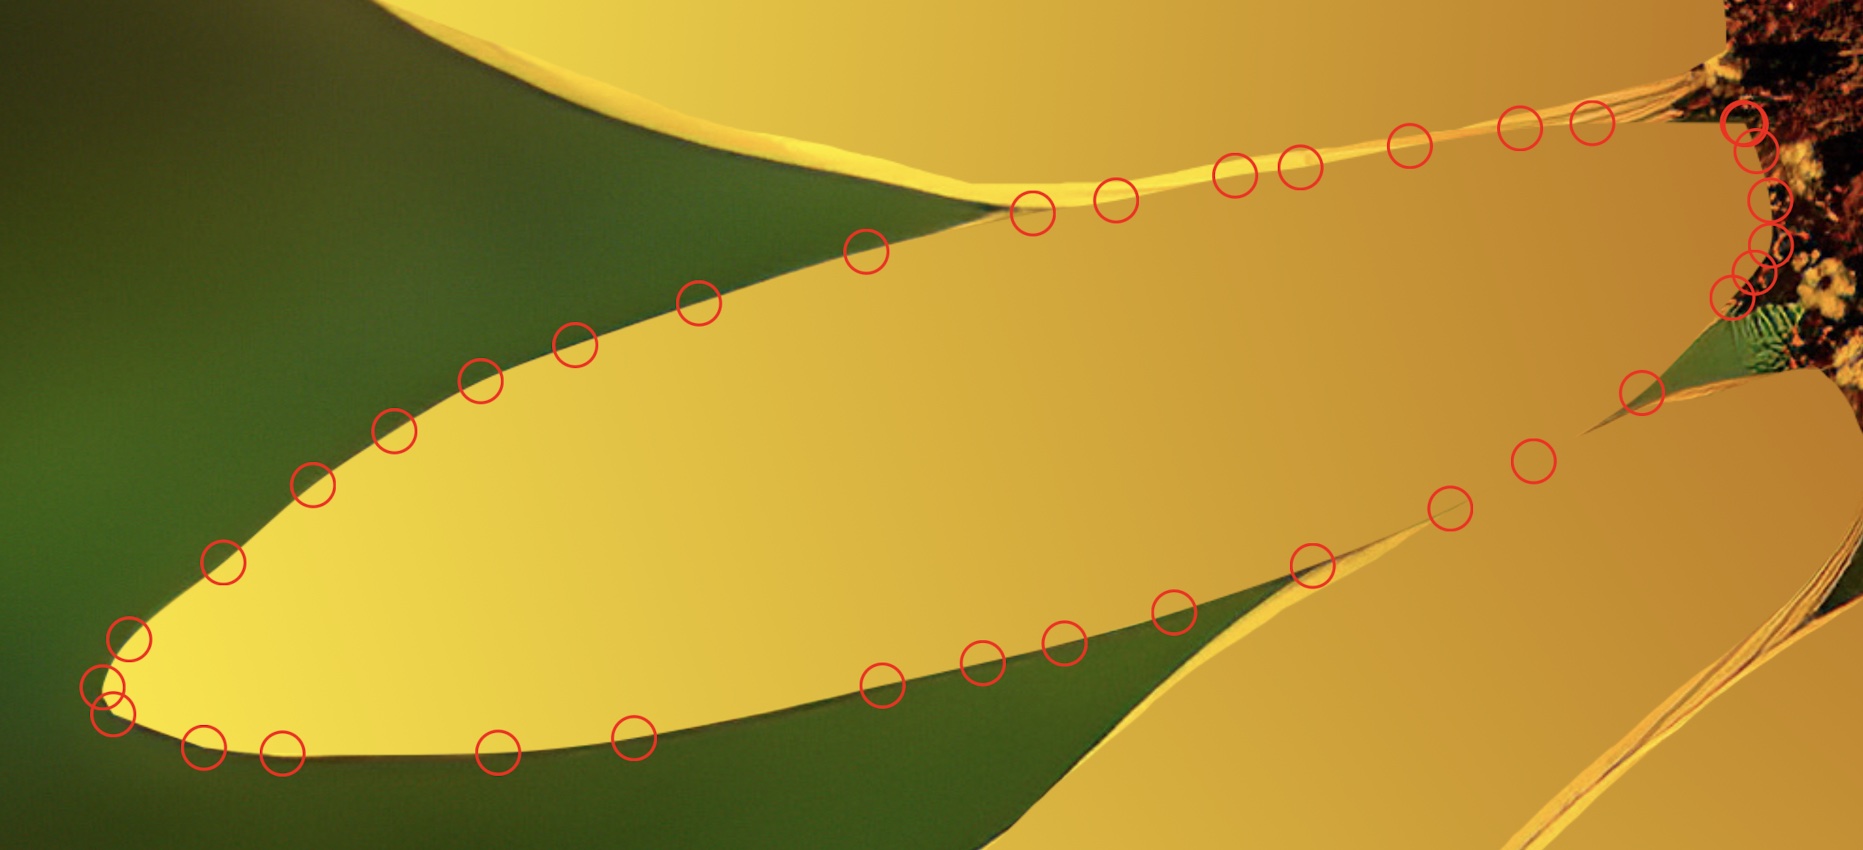
Next we notice the outline of the petal isn't exactly aligned. Zooming in, the positions of the points can be moved precisely.
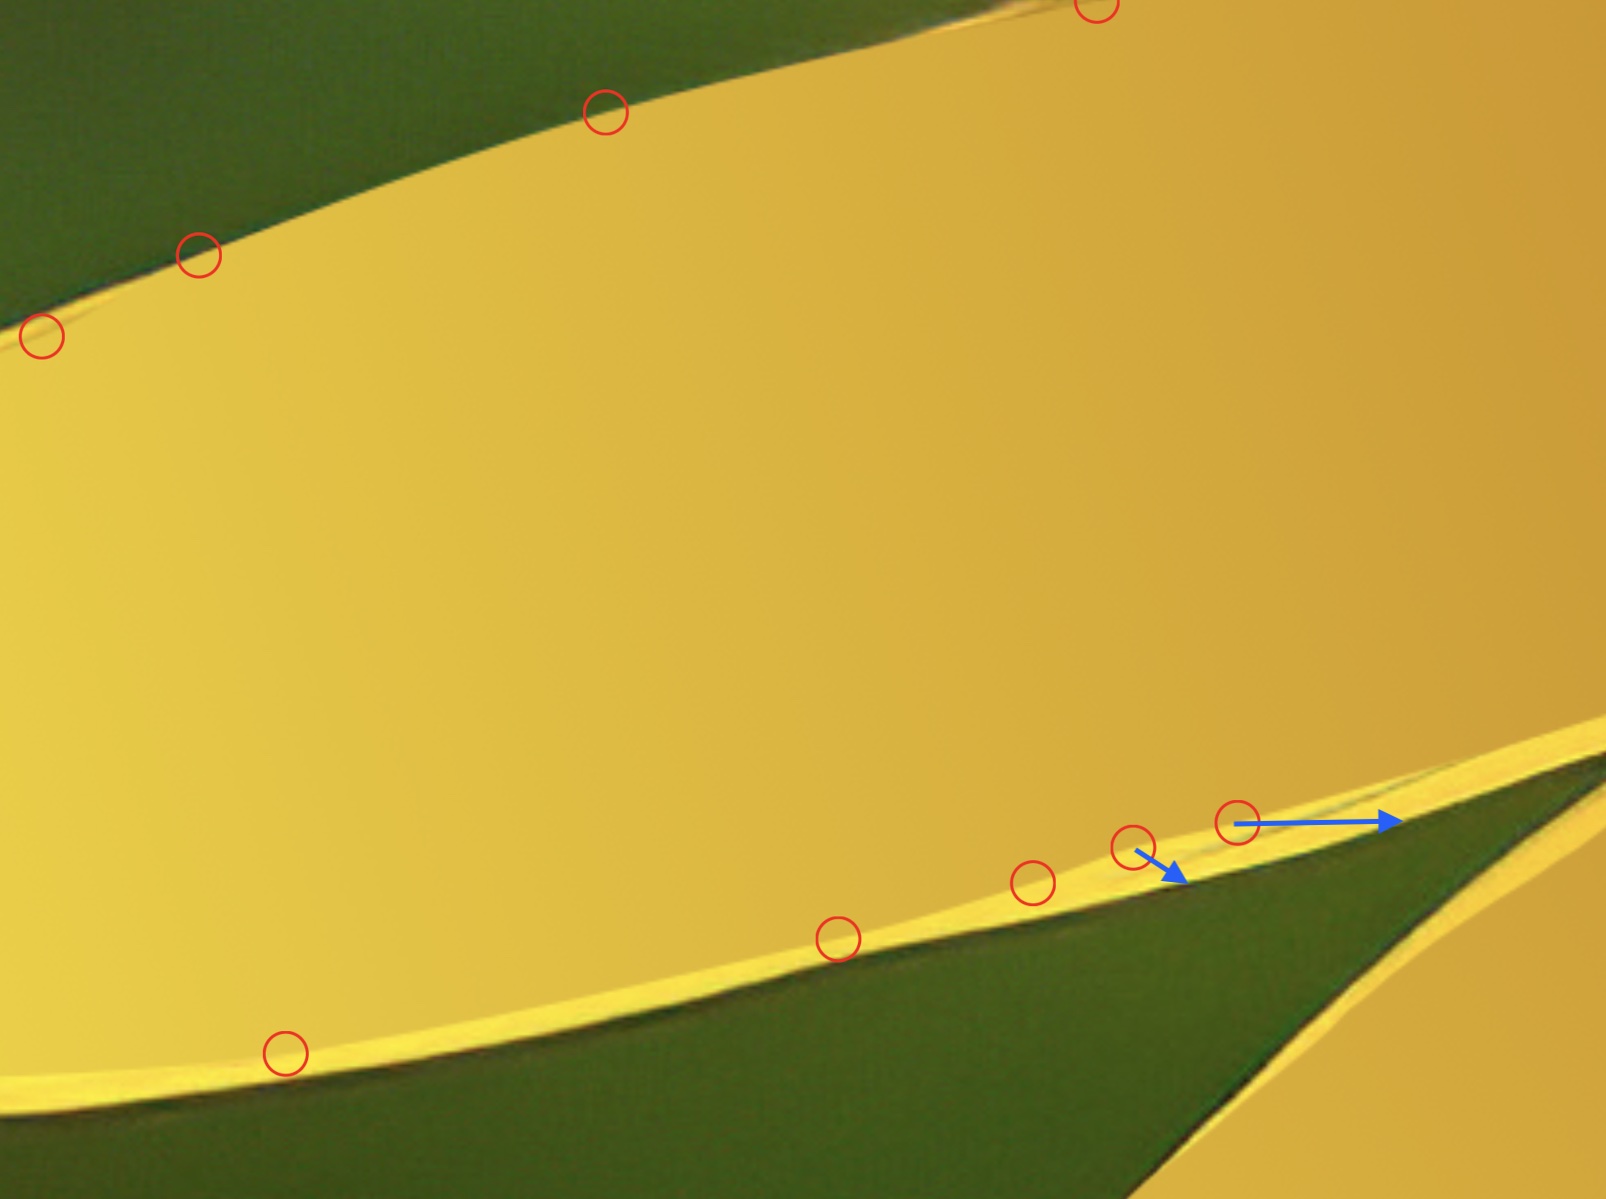
The points are all aligned, but the gradient is not quite right. Look at the picture at the top of this page. The gradient in the actual flower concentrates the darker color toward the center of the flower. Most of the petal is the lighter color. Select the curve again to edit the gradient distribution.
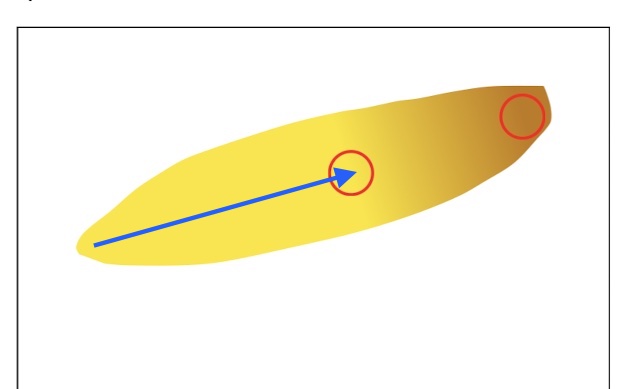
The circles have been dragged to change where the color transition occurs. Now most of the petal is the light yellow color. Here is the result show with the other curves and the base image.